First Steps
1. Create a new Slider
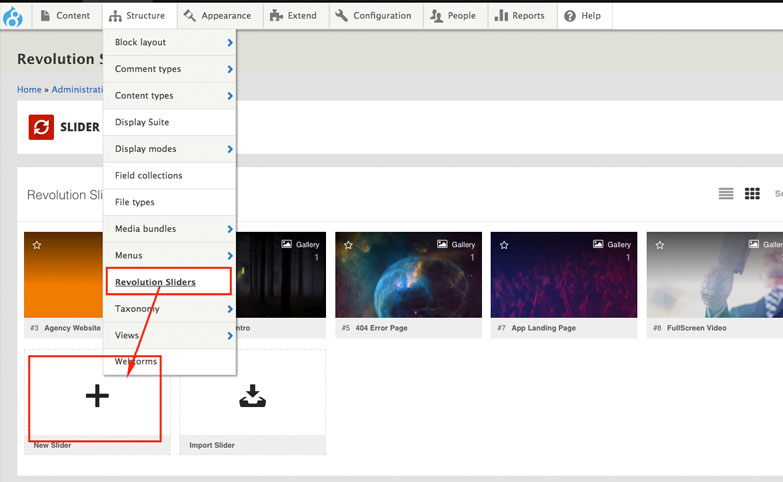
1.1 From the plugin's main admin page, select "Create New Slider".
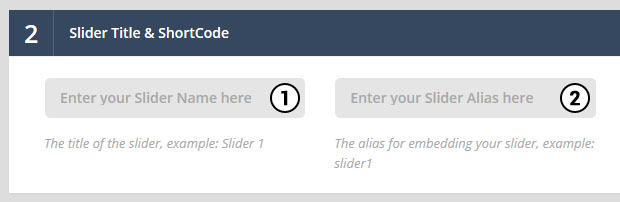
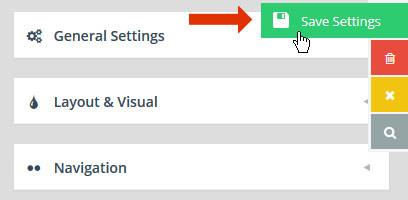
1.2 Enter a Slider Title (1) and Alias (2), and click "Save".
- Quick Note:
Before saving, you can select several of the slider's settings from this page. But choosing these settings are not required to officially create a new slider, as they can be adjusted afterward.
- Alias Naming:
The slider's "Title" can be anything, but the "Alias" should not have any special characters or spaces (but dashes and underscores are ok).
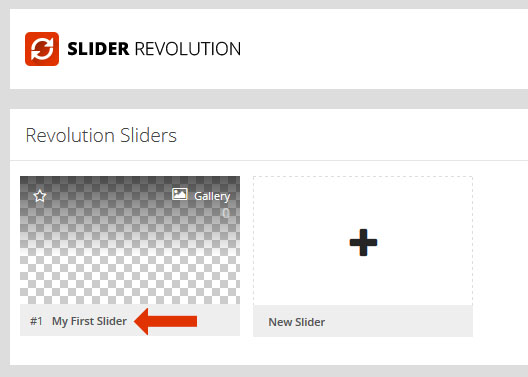
1.3 You'll now be redirected to the plugin's main admin page where you'll see your new slider listed.
2. Start with a Demo Slider
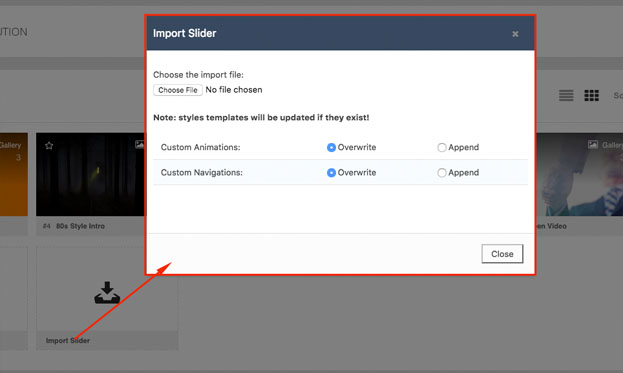
back to top2.1 Import from the popup modal, import the corresponding zip file.
In your original download source folder, you’ll find a folder named “example-zips”. Click the “browse” button (#1), and locate the zip file listed in the green box from your computer (i.e. “exwebproduct.zip”). Then click “Import Template Slider” (#2).
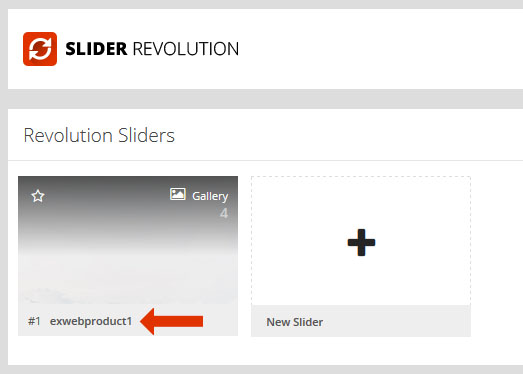
2.2 You'll then see the template slider listed in the plugin's main admin page.
- Quick Note - Import Theme Slider:
To import a demo included with your theme, choose "Import Slider" instead of " Add Template Slider", and then start from "Section 2.1" above.
3. Slider Management
back to top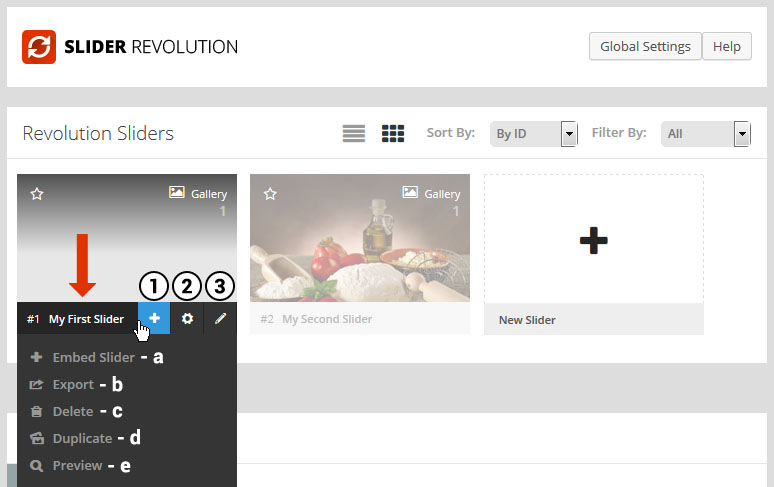
- 1. General Options
- a. Embed Slider - View options for how the slider can be added to one of your pages.
- b. Export - Create a zip file of your slider that can be imported to a different website.
- c. Delete - Delete the slider.
- d. Duplicate - Create a copy of the current slider.
- e. Preview - View a quick preview of the slider from inside the slider's admin.
- 2. Slider Settings - Content Source, Layout Options, etc.
- 3. Create/Edit Slides - Individual slide management.
